GIMP
News
Docs
Tutorials
More
This tutorial is aimed to teach you to create a heart shape in GIMP using selections.
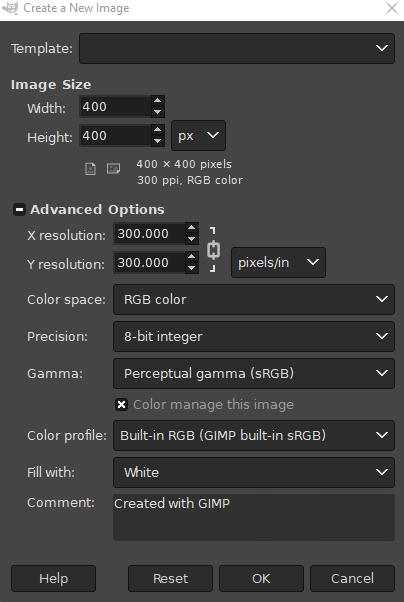
Fire up GIMP and create a new image. I used a white background at 400px by 400px and no specific other settings changed.
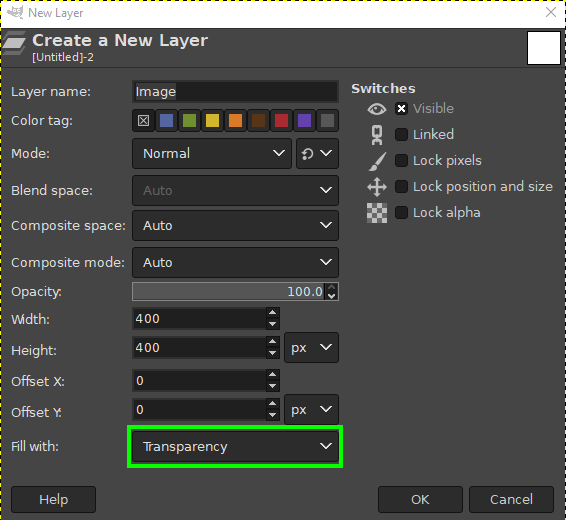
Create a new transparent layer.
Select the tool (Ellipse Select Tool) or on keyboard press E In the tool options select ‘Fixed’ - Aspect ratio
Draw first circle shape and fill selection with red color. See below image:
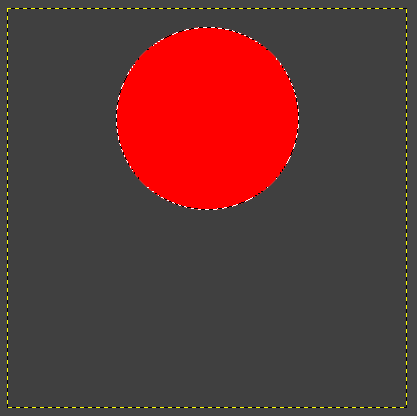
Deselect the shape by going to:
or Shift+Ctrl+A on keyboard.
Create another transparent layer
Select the Rectangle Select Tool or press R on keyboard
Make the selection from the middle of the circle and down. And fill with red color:
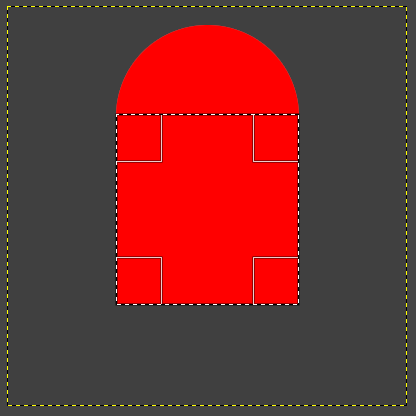
Deselect the shape by going to:
or Shift+Ctrl+A on keyboard.
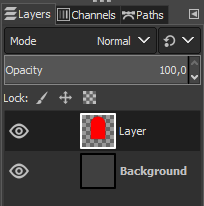
Right click the layer for the rectangle shape and select “Merge down” so it merges with the layer of the circle shape. See layers dialog example below:
Select the tool “Rotate Tool” or press Shift+R on keyboard and click the layer to rotate which is the red shape dialog.
In the dialog, change the Angle to be 45. See image below:
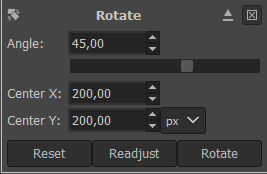
NOTE! I have changed the settings for the tool to be “Direction: Normal (Forward)” therefore my shape is forwarded rotated then backward. In general it does not matter because we are going to duplicate and move layers around in next step. The main part is only to have it rotated.
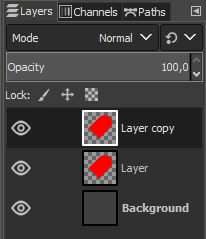
In layers dialog duplicate the shape layer. See image below:
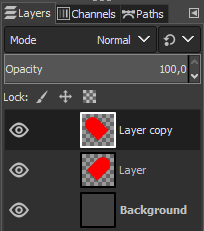
Select the tool: Flip Tool or press Shift+F on keyboard and Flip the new shape. See below:
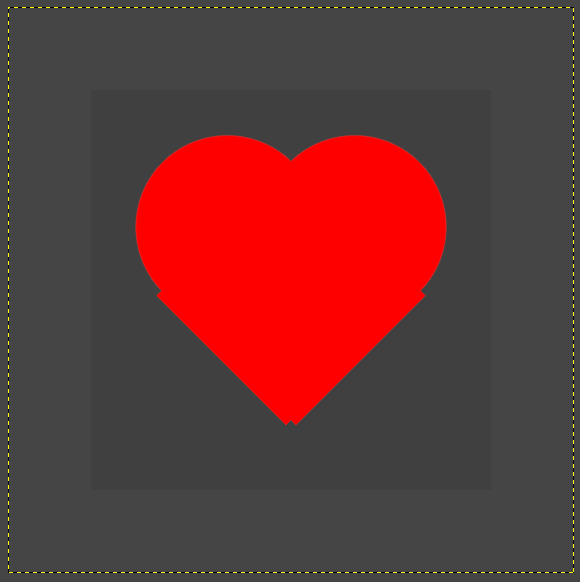
Select the tool: Move Tool or press M on keyboard.
Move one of the layers so they align at the bottom of the shape (NOTE: you can move the layer with the arrow keys on the keyboard also). See below:
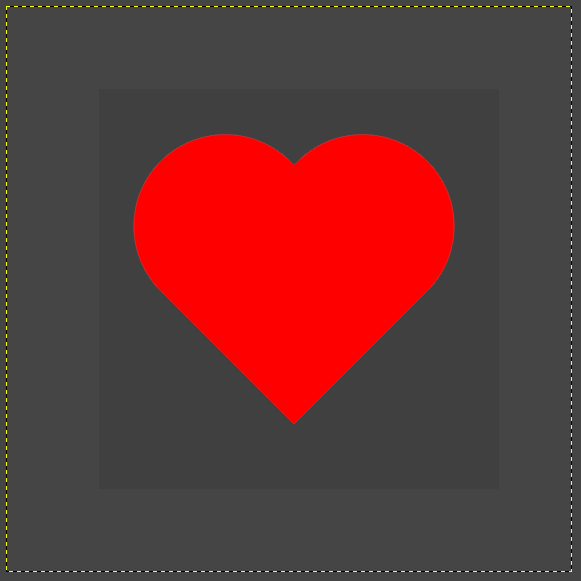
Almost done! Now lets merge the shape together.
In the top layer for the shape. Right click the layer and press “Merge Down”.
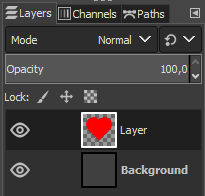
Last let’s fix the layer boundaries. Right click the shape layer and press “Layer to Image Size”

 GIMP Tutorial - Heart Shape by GIMP Team
Licensed under a Creative Commons Attribution-ShareAlike 3.0 Unported License.