GIMP
News
Docs
Tutorials
More
Layer masks are a fundamental tool in image manipulations. They allow you to selectively modify the opacity (transparency) of the layer they belong to. This differs from the use of the layer Opacity slider as a mask has the ability to selectively modify the opacity of different areas across a single layer.
This modification of a layer’s transparency through a mask is non-destructive to the layer itself.
This flexibility to define the opacity of different areas of a layer is the basis for more interesting image manipulation techniques such as selective coloring and luminosity masking.
Layer masks need to be added to a layer before they can be used. The process for adding them is simple.
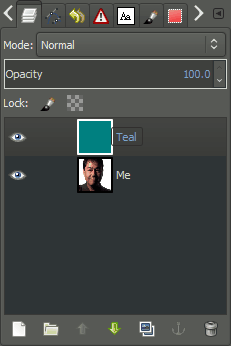
For this example I will use a simple image with only two layers, as shown above. There is a base image at the bottom of the stack, and a single layer of teal over it. The teal layer is the active layer (look for the white border), and the one which we will add a layer mask to.
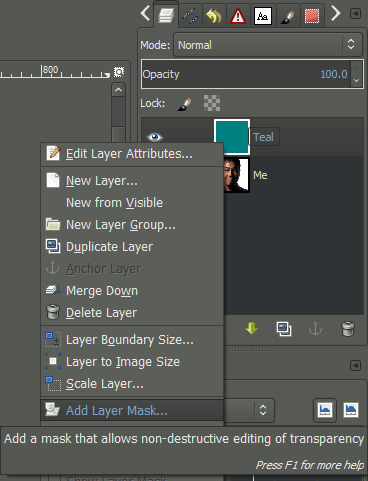
Right-Click on the layer you want to add a mask to (the “Teal” layer in my example), and the Context menu will show an option to Add Layer Mask…:
You can also add a layer mask through the menus:
This will then bring up the “Add a Mask to the Layer” dialog with some options:
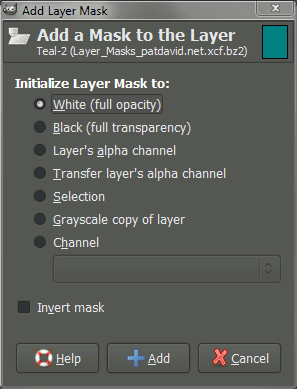
There are many options for initializing the Layer Mask. Notice that the first option is to set the entire mask to White, which will result in full opacity on the layer (no transparency from the mask). The option to initialize to Black shows that the mask will make the entire layer fully transparent.
For the purposes of this tutorial, we will let the mask initialize to White (full opacity). You should notice a change in your Layers dialog now that shows the layer mask thumbnail to the right of the layer it applies to (in this case the “Teal” layer):
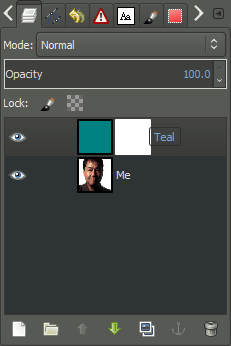
The layer mask has now been added to the “Teal” layer. It is also active (there is a white border around the thumbnail in the dialog, but is not visible due to the mask being white as well) and ready for modification.
At this point any operations performed on the canvas will apply to the mask and not to any layers themselves. To illustrate how masks can affect its layers transparency, let’s paint!
I am going to use the Rectangle Select tool to select roughly the top third of the image, and I’ll fill this selection with black.
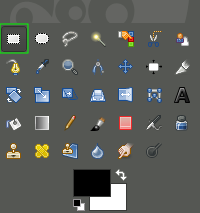
Using the Rectangle Select tool, I’ll select roughly the top third of the image:
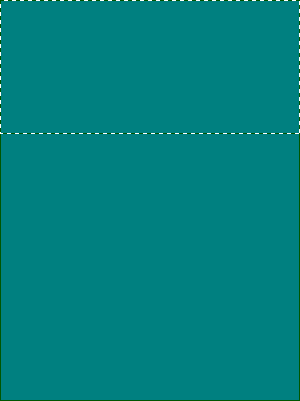
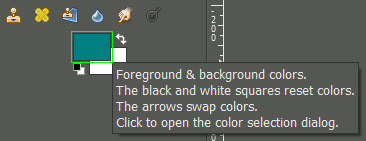
I want to fill this selection with black, but before I do I need to make sure that my foreground color is black. Click on the foreground color in the Color area to bring up the “Change Foreground Color” dialog:
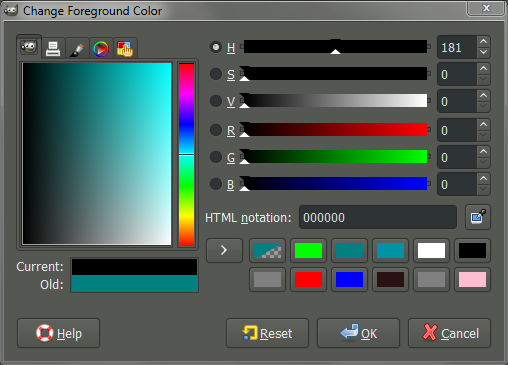
The “Change Foreground Color” dialog allows you to set the foreground color. For this example set the color to black, RGB(0, 0, 0):
With the foreground color set, you can now use the Bucket Fill Tool to fill in the selection.
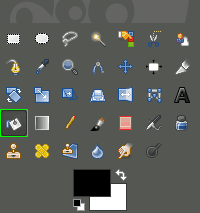
You can now click inside the selection to fill it with the foreground color (black). As soon as you do, you’ll be presented with a new view of your image on the canvas:
![Masked-Top-Black]](https://www.gimp.org/tutorials/Layer_Masks/Masked-Top-Black.png)
As you can see, filling the selected portion of the layer mask with black resulted in that area having 100% transparency, showing the layer below it.
If you Rectangle Select a different area of the mask, you can fill it in with a different shade of gray to produce a variable opacity. For example, I will select a few different regions of the mask, and fill it with different levels of gray:
![Masked-Various]](https://www.gimp.org/tutorials/Layer_Masks/Masked-Various.png)
If you examine the layer mask, you’ll see that there are different levels of gray being applied (black to white, from top to bottom), and their value is what determines the opacity of the layer.
A good example of the application of layer masks is doing selective colorization of an image (selectively allowing color to show through a mostly black and white image). I’ll walk through how to easily do this with an image from Mardi Gras 2013:

Start the process by duplicating the base image (Shift+Ctrl+D, or Right-Click layer → Duplicate Layer). From the menu:
Then desaturate the upper layer using:
Following the steps above, add a layer mask to the desaturated layer and initialize it to White (full opacity). At this point, the Layers dialog should look like this:
![SelCol-Layers]](https://www.gimp.org/tutorials/Layer_Masks/SelCol-Layers.png)
As before, set your foreground color to black. This time, rather than filling selections, we are going to use the Paintbrush Tool to paint areas of the image we want the color to show through from the layer below.
I decided to paint the boy on the fence. Using the Paintbrush Tool I painted over his shirt and head. This allowed those colors to show through from the layer below. Here are the results after painting:

To illustrate what was done, here is the layer mask I painted to achieve the above result:
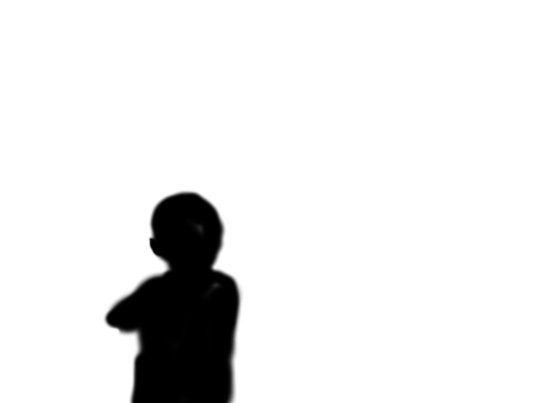
Of course, I could have chosen a different color than black to create the mask. If I wanted a slightly more muted color I could have painted with a more middle gray vs. black:

The original tutorial this was adapted from may be found here (possibly with updated information).
 GIMP Tutorial - Layer Masks (text & images) by Pat David.
Licensed under a Creative Commons Attribution-ShareAlike 3.0 Unported License.